Woodkiln Demolition: A step by step guide.

Step 1: Take down the chimney. Here's the train kiln, with chimney almost down, and after the outer layer of chicken wire and concrete was removed (with Jesse's super handy pneumatic hammer).

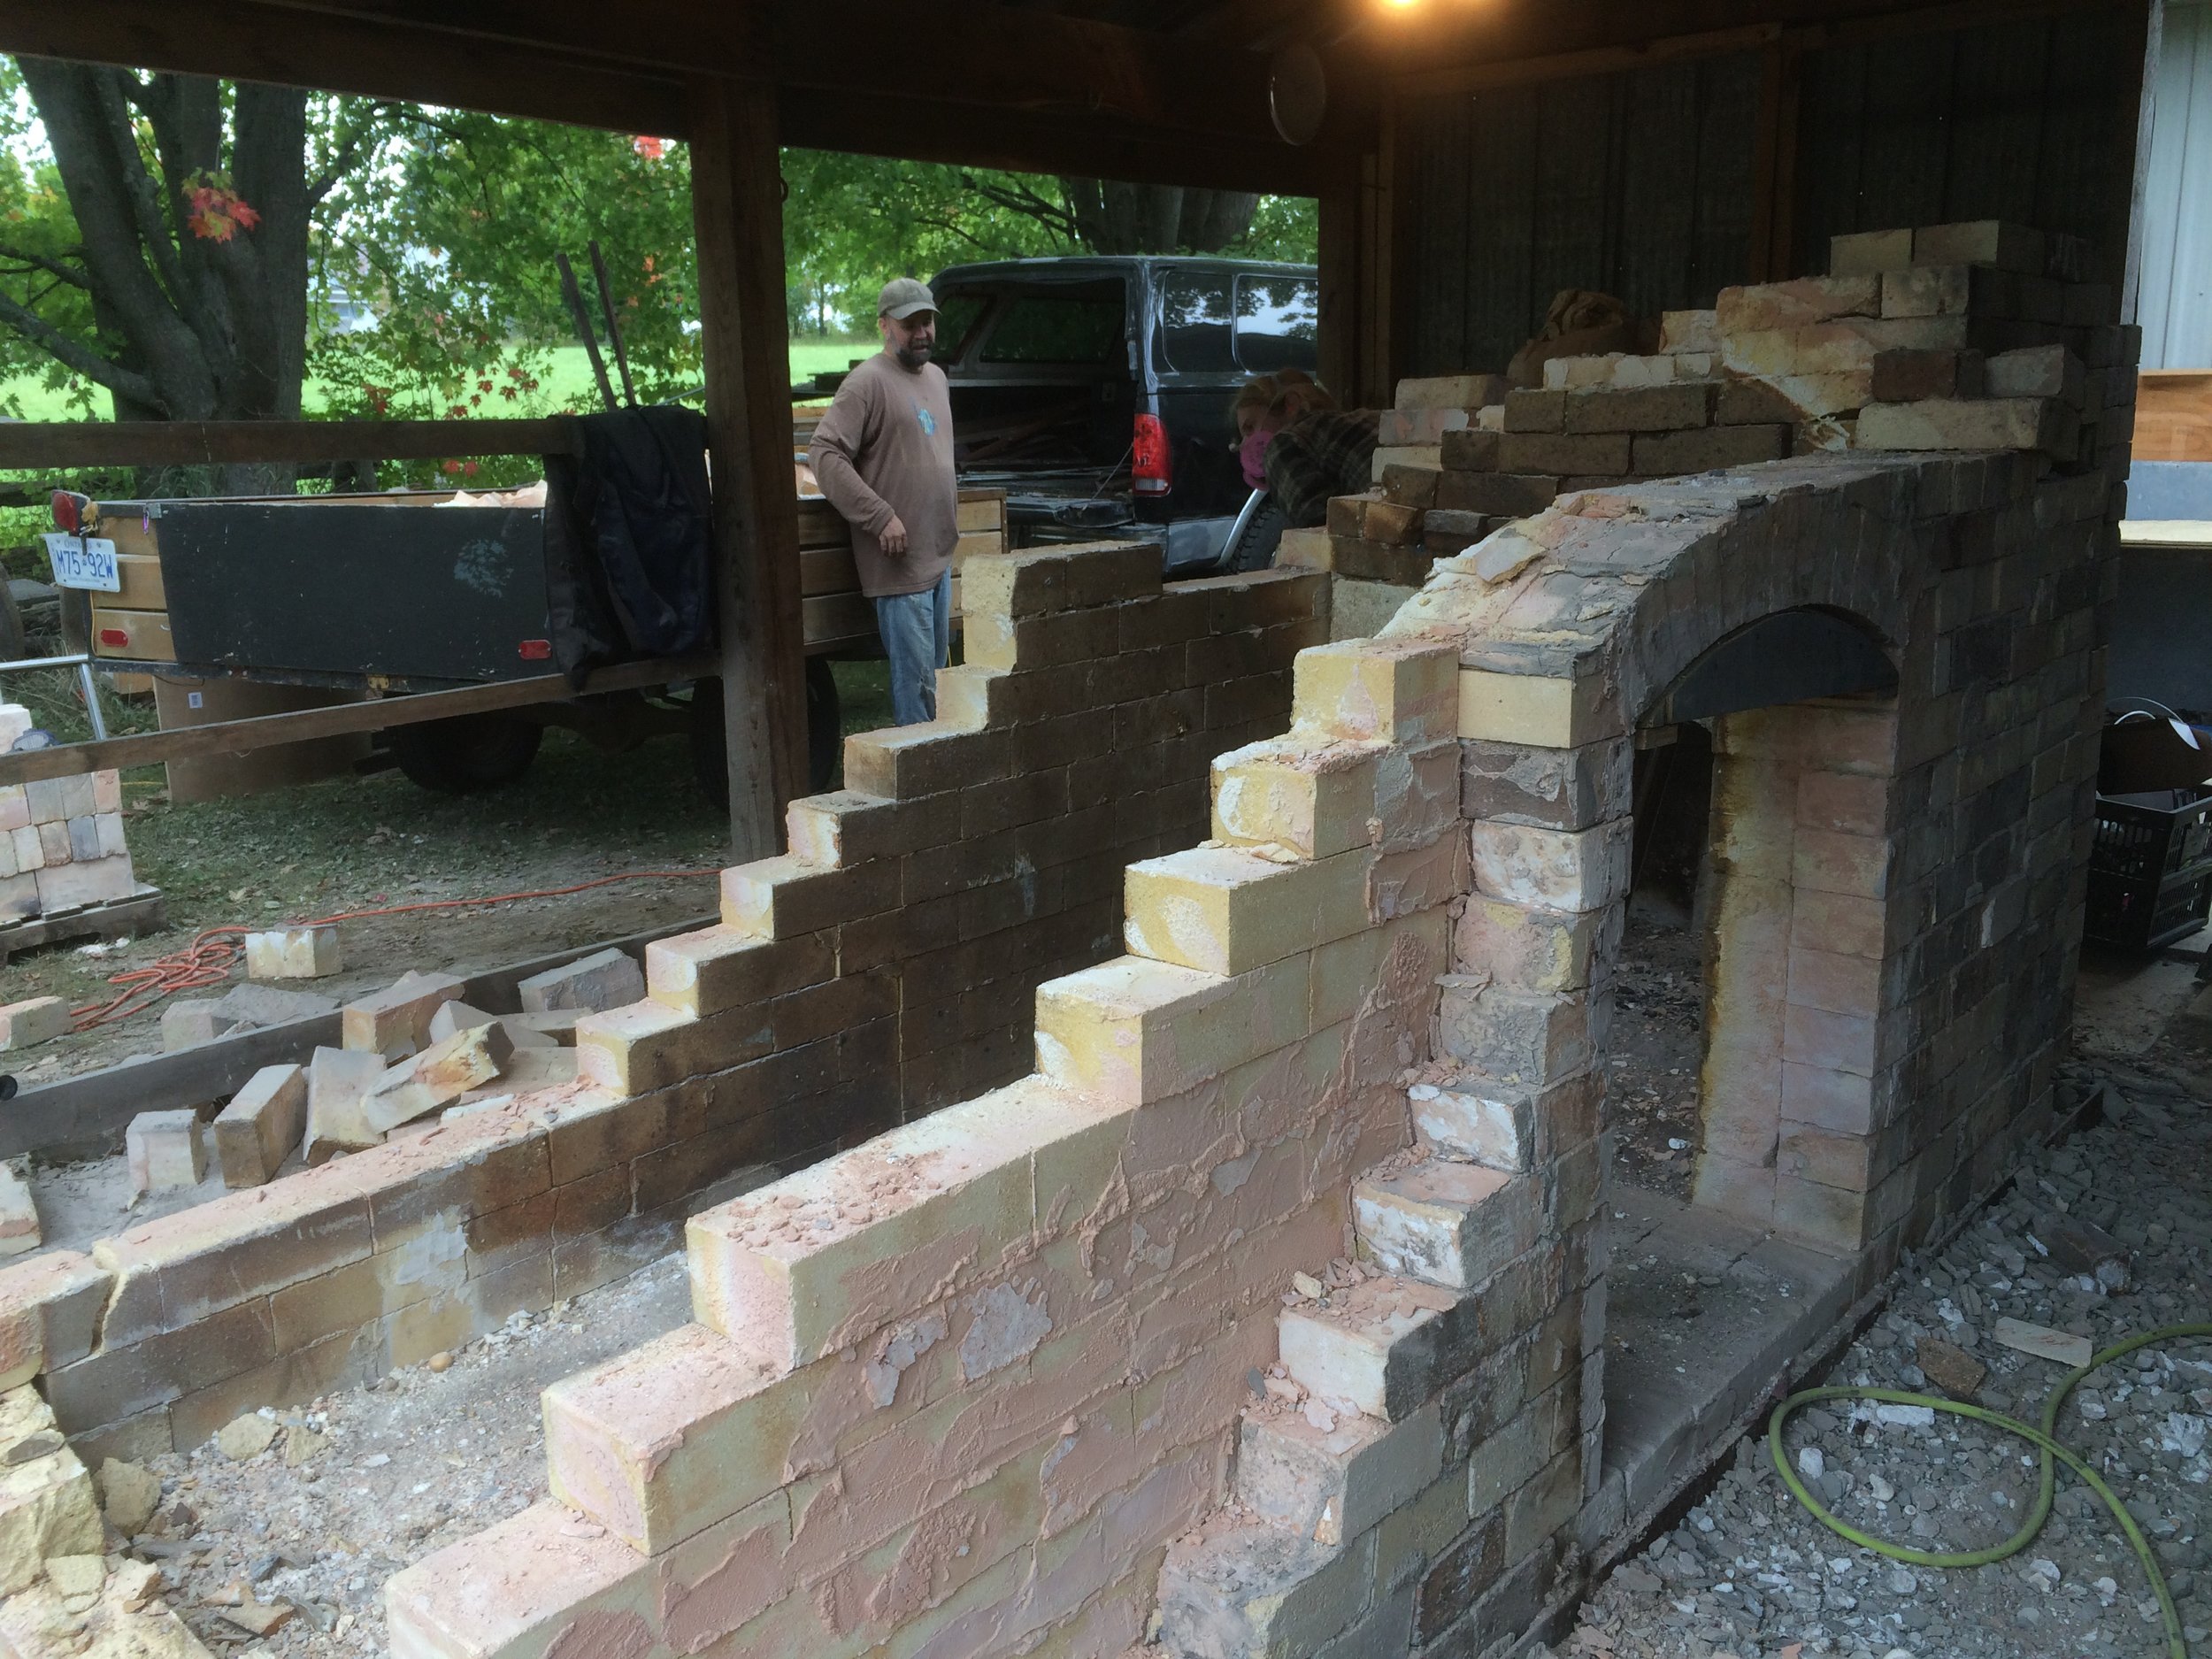
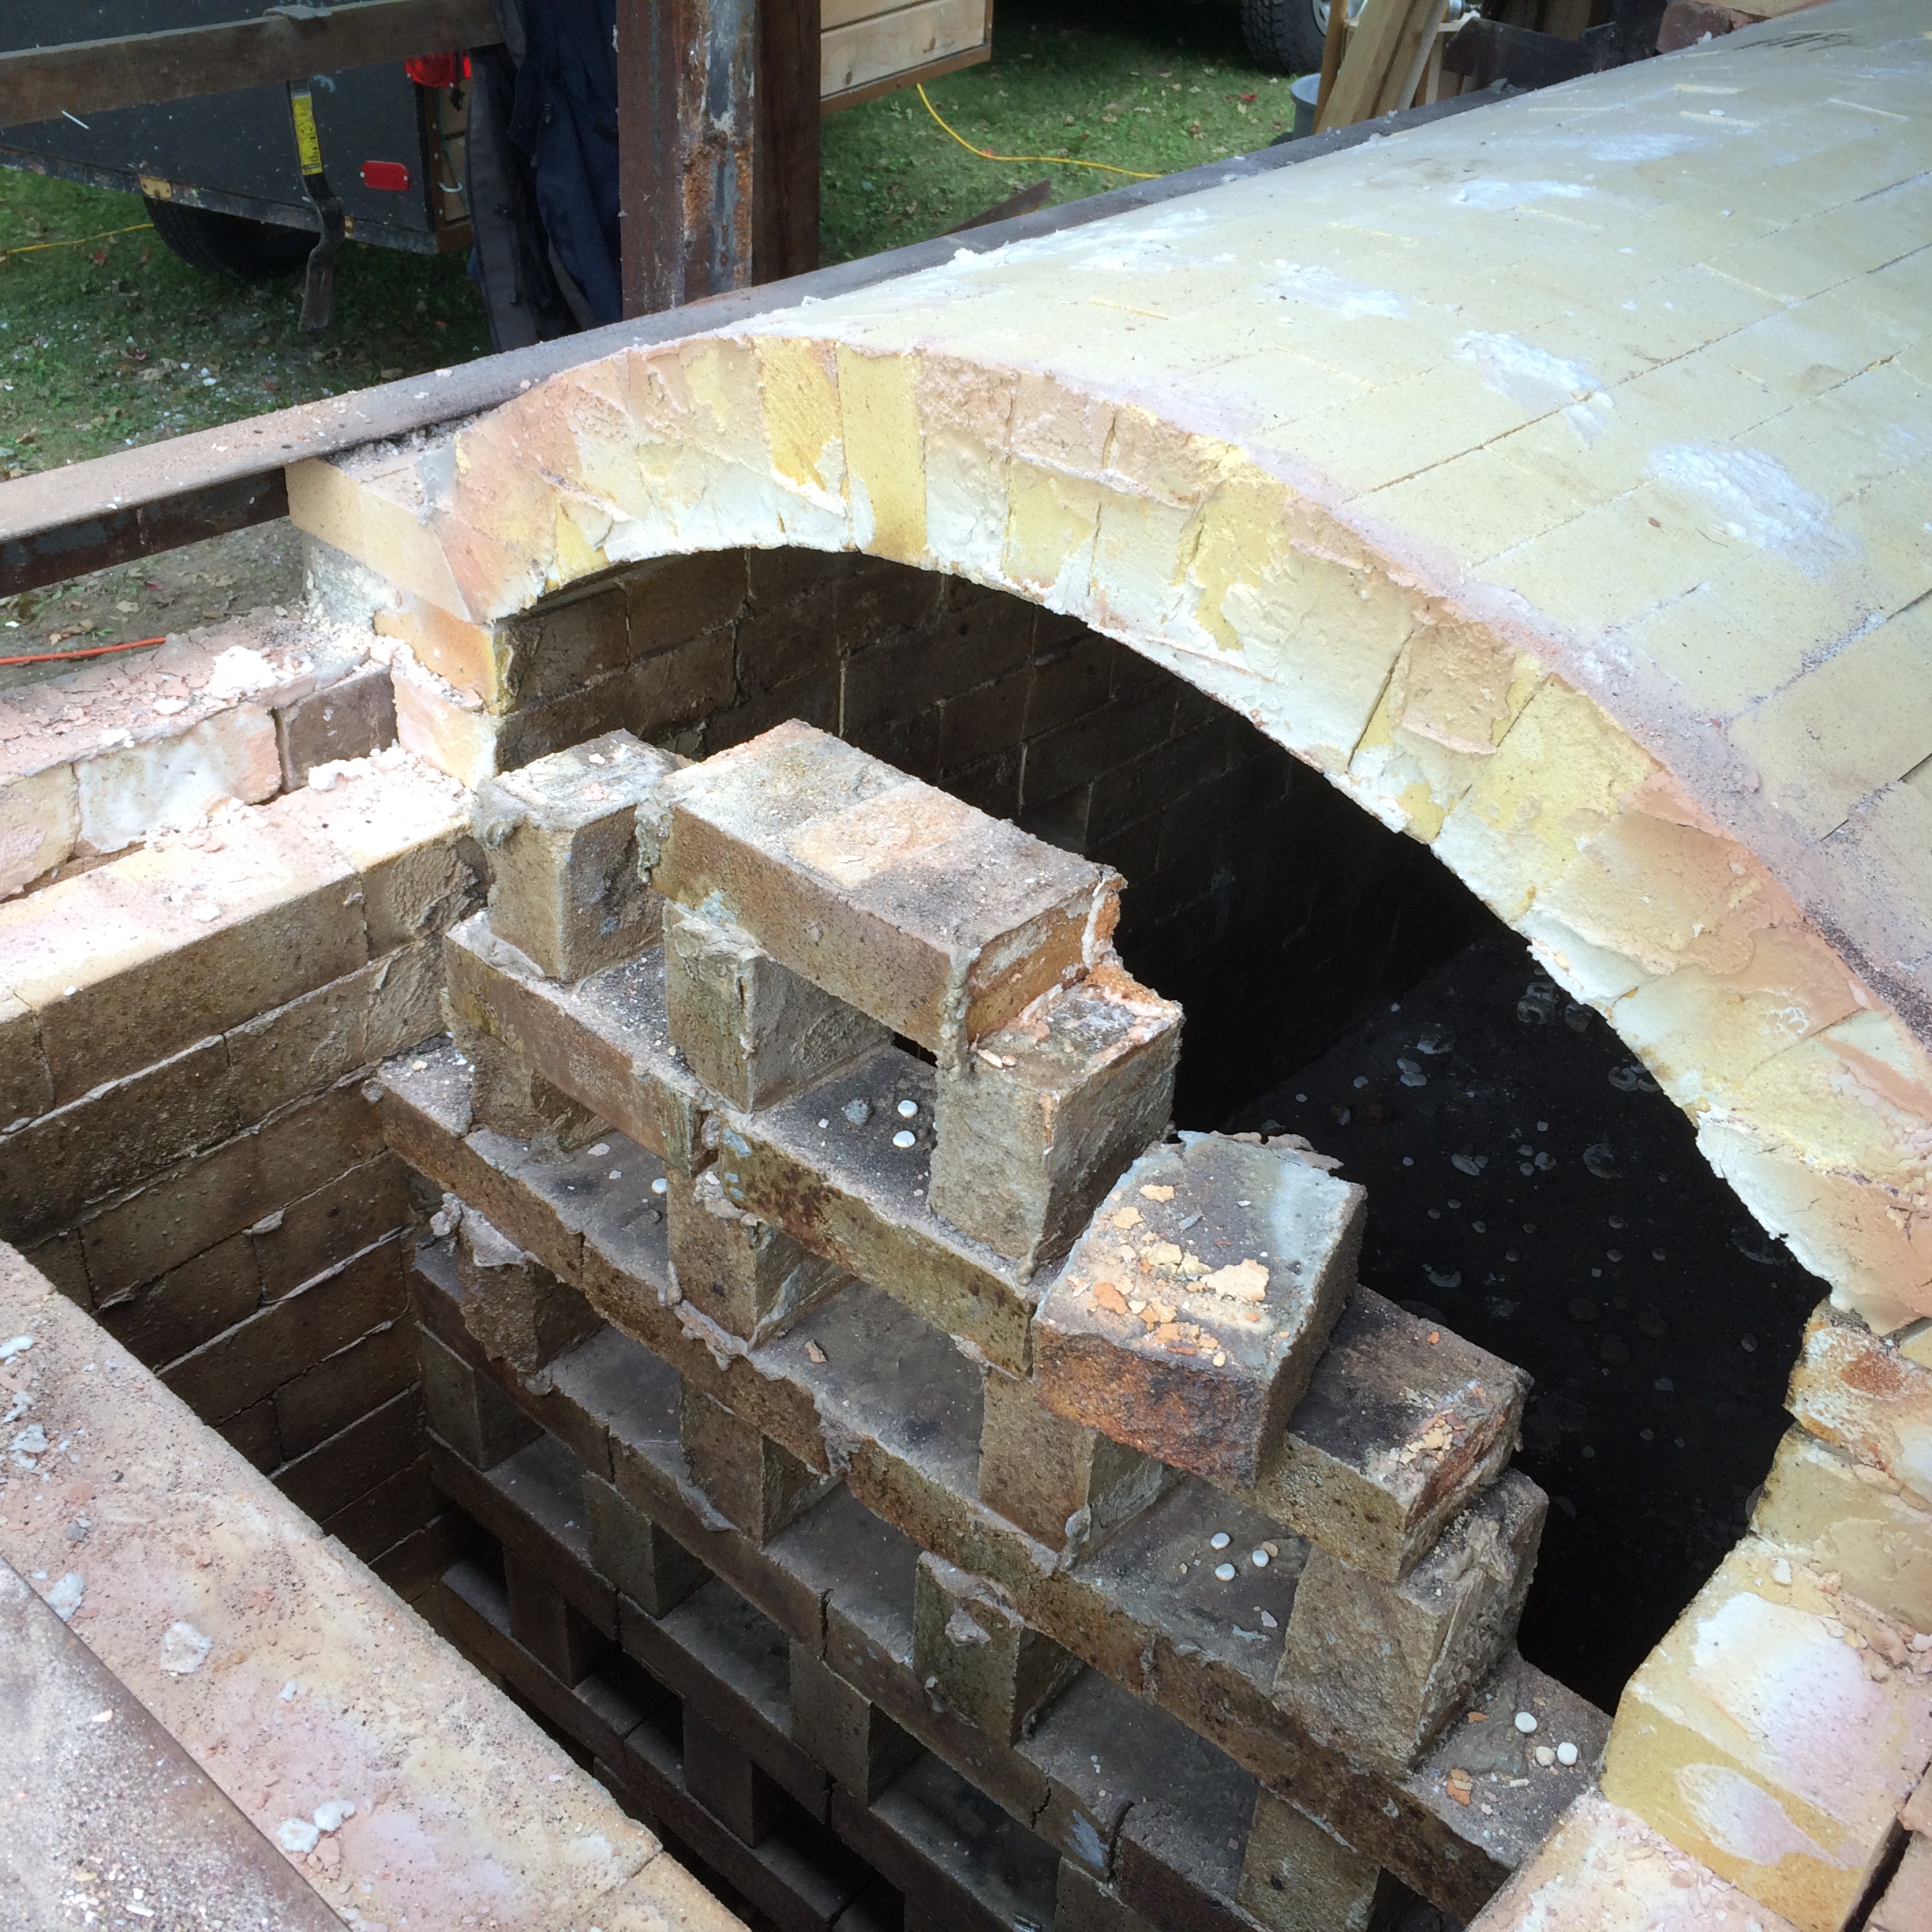
Step 3: Build a wooden form to jack up the arch, then start removing the arch from back to front.
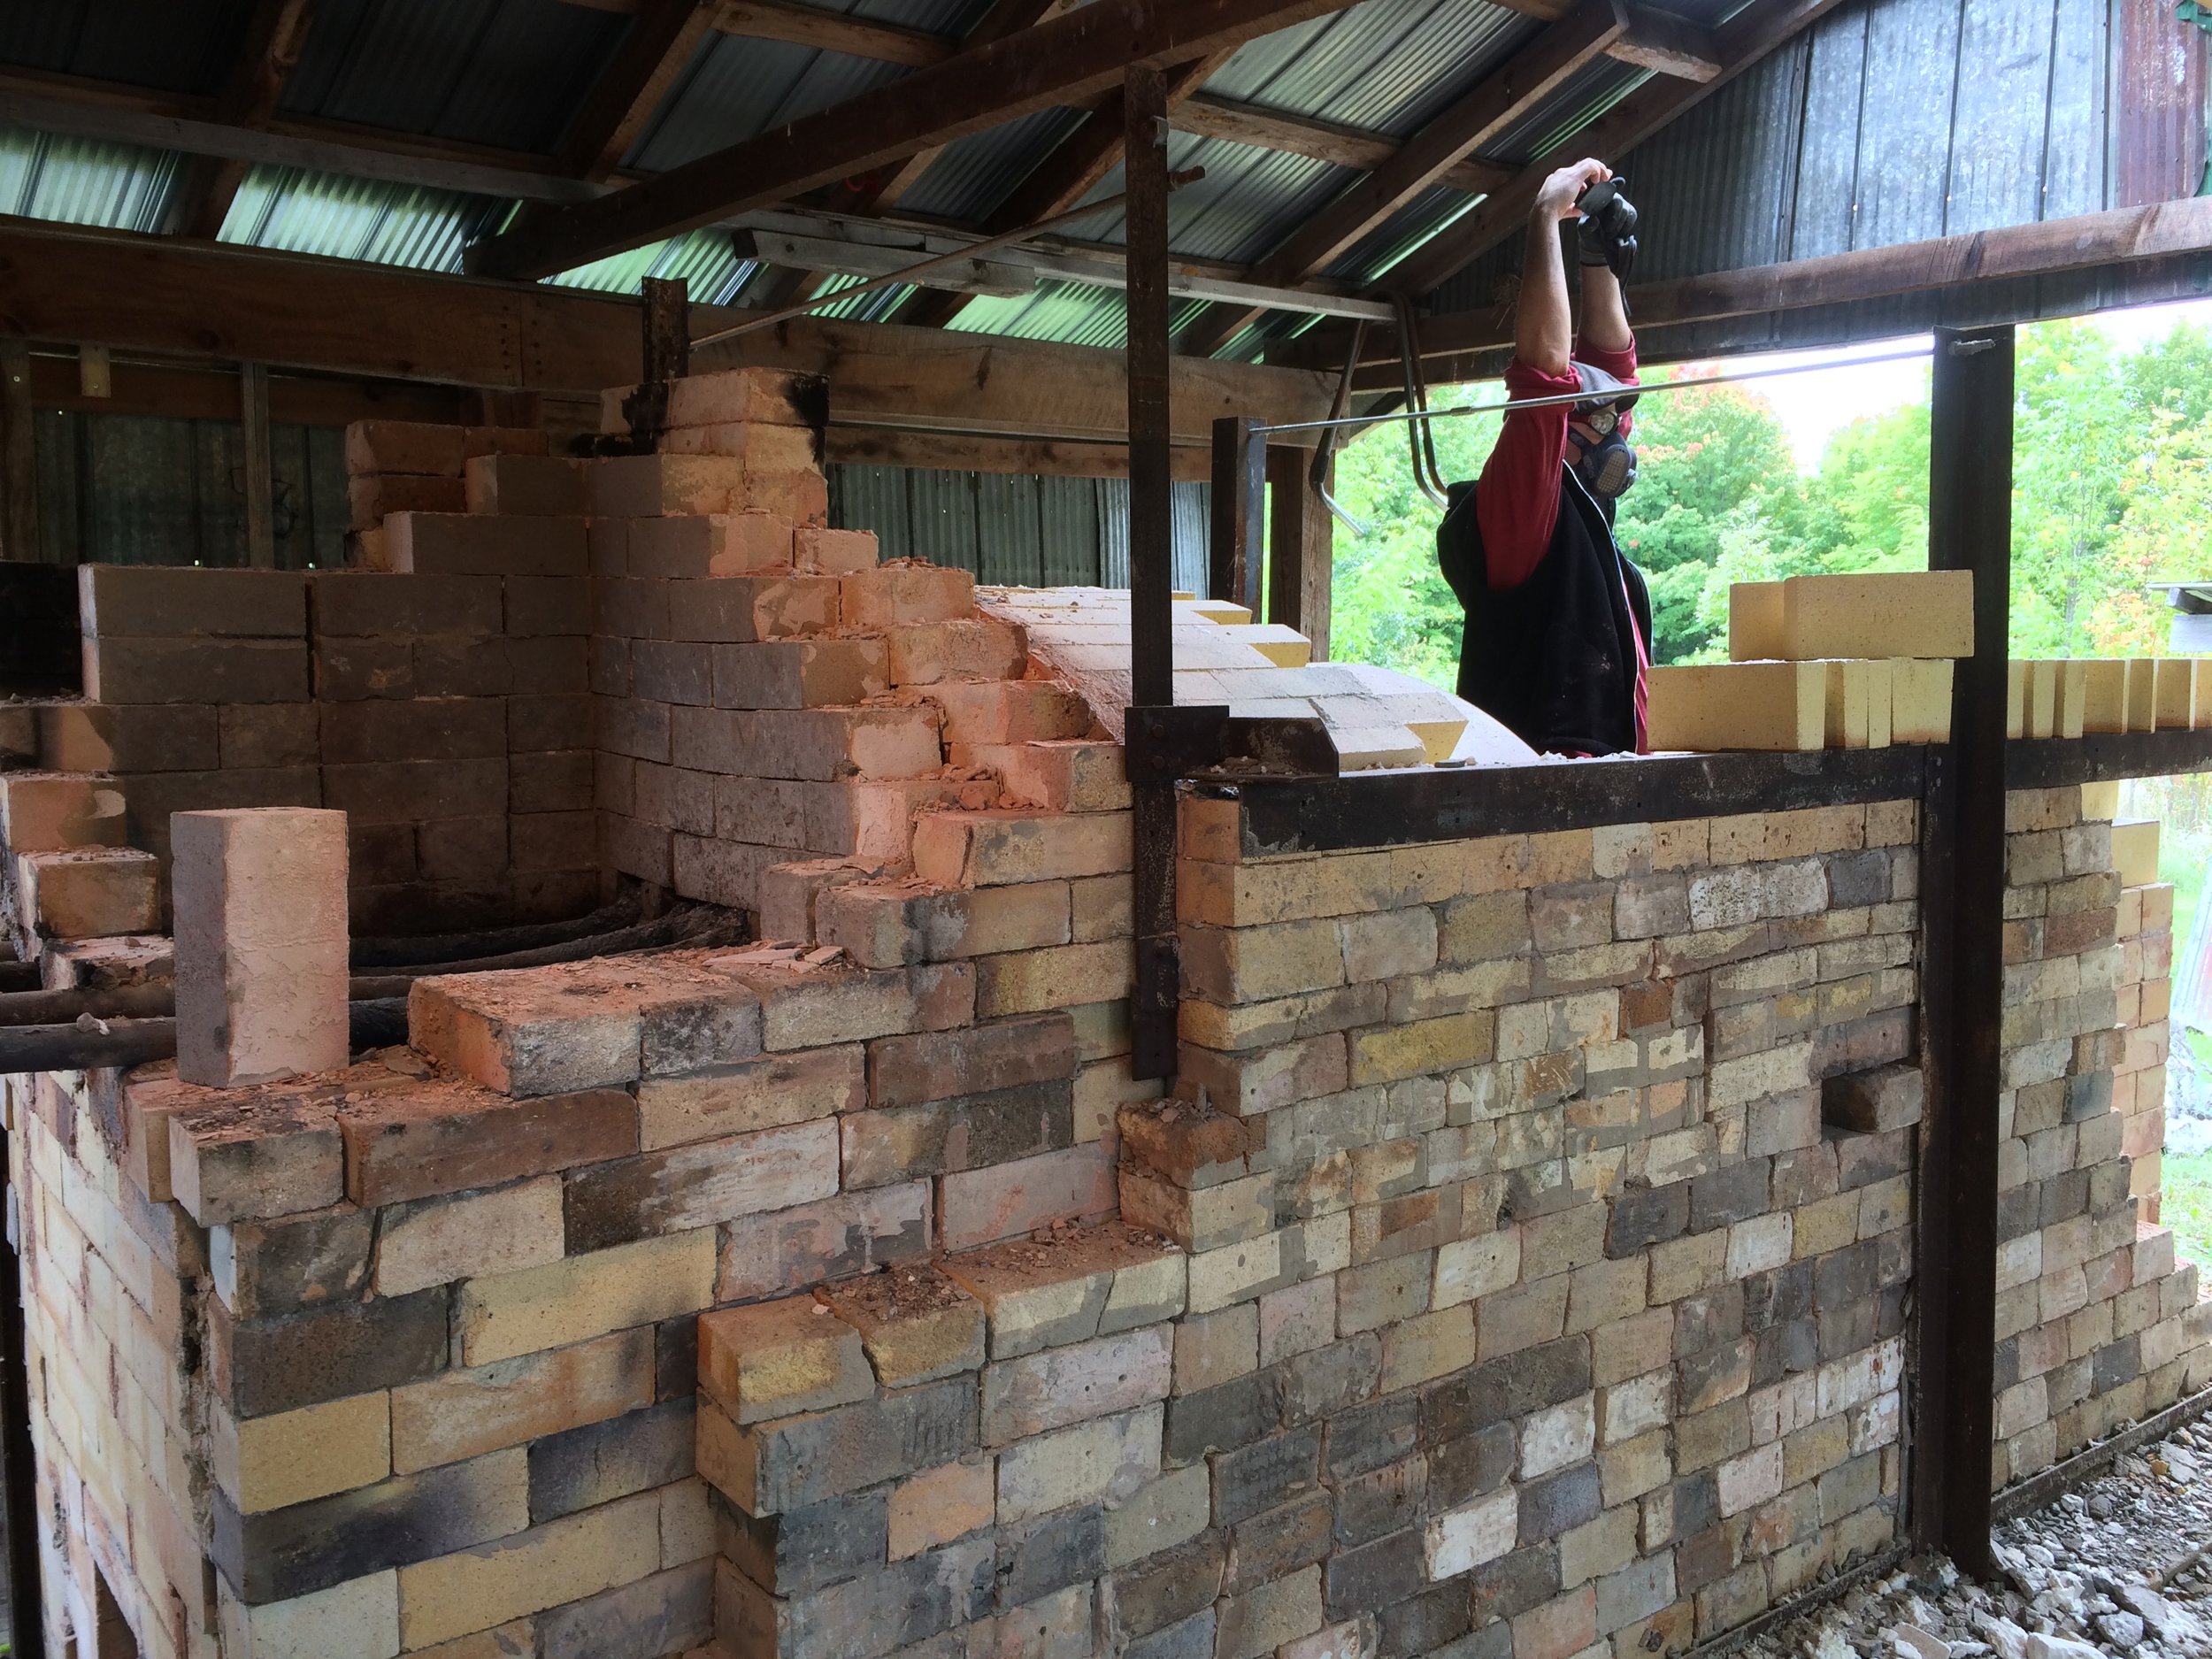
Step 4: Take down the firebox. This involved removing the steel for the door, taking off a top layer of shelves and fibre blanket, and slowly starting to hammer out the bricks one by one.
Step 5: Use any means possible to take the rest of the rear of the kiln down. For us this ranged from gentle tapping and chiselling, to me standing in the kiln whacking the back wall down with the sledgehammer. Some of the bricks were so stuck together that they were not salvageable.
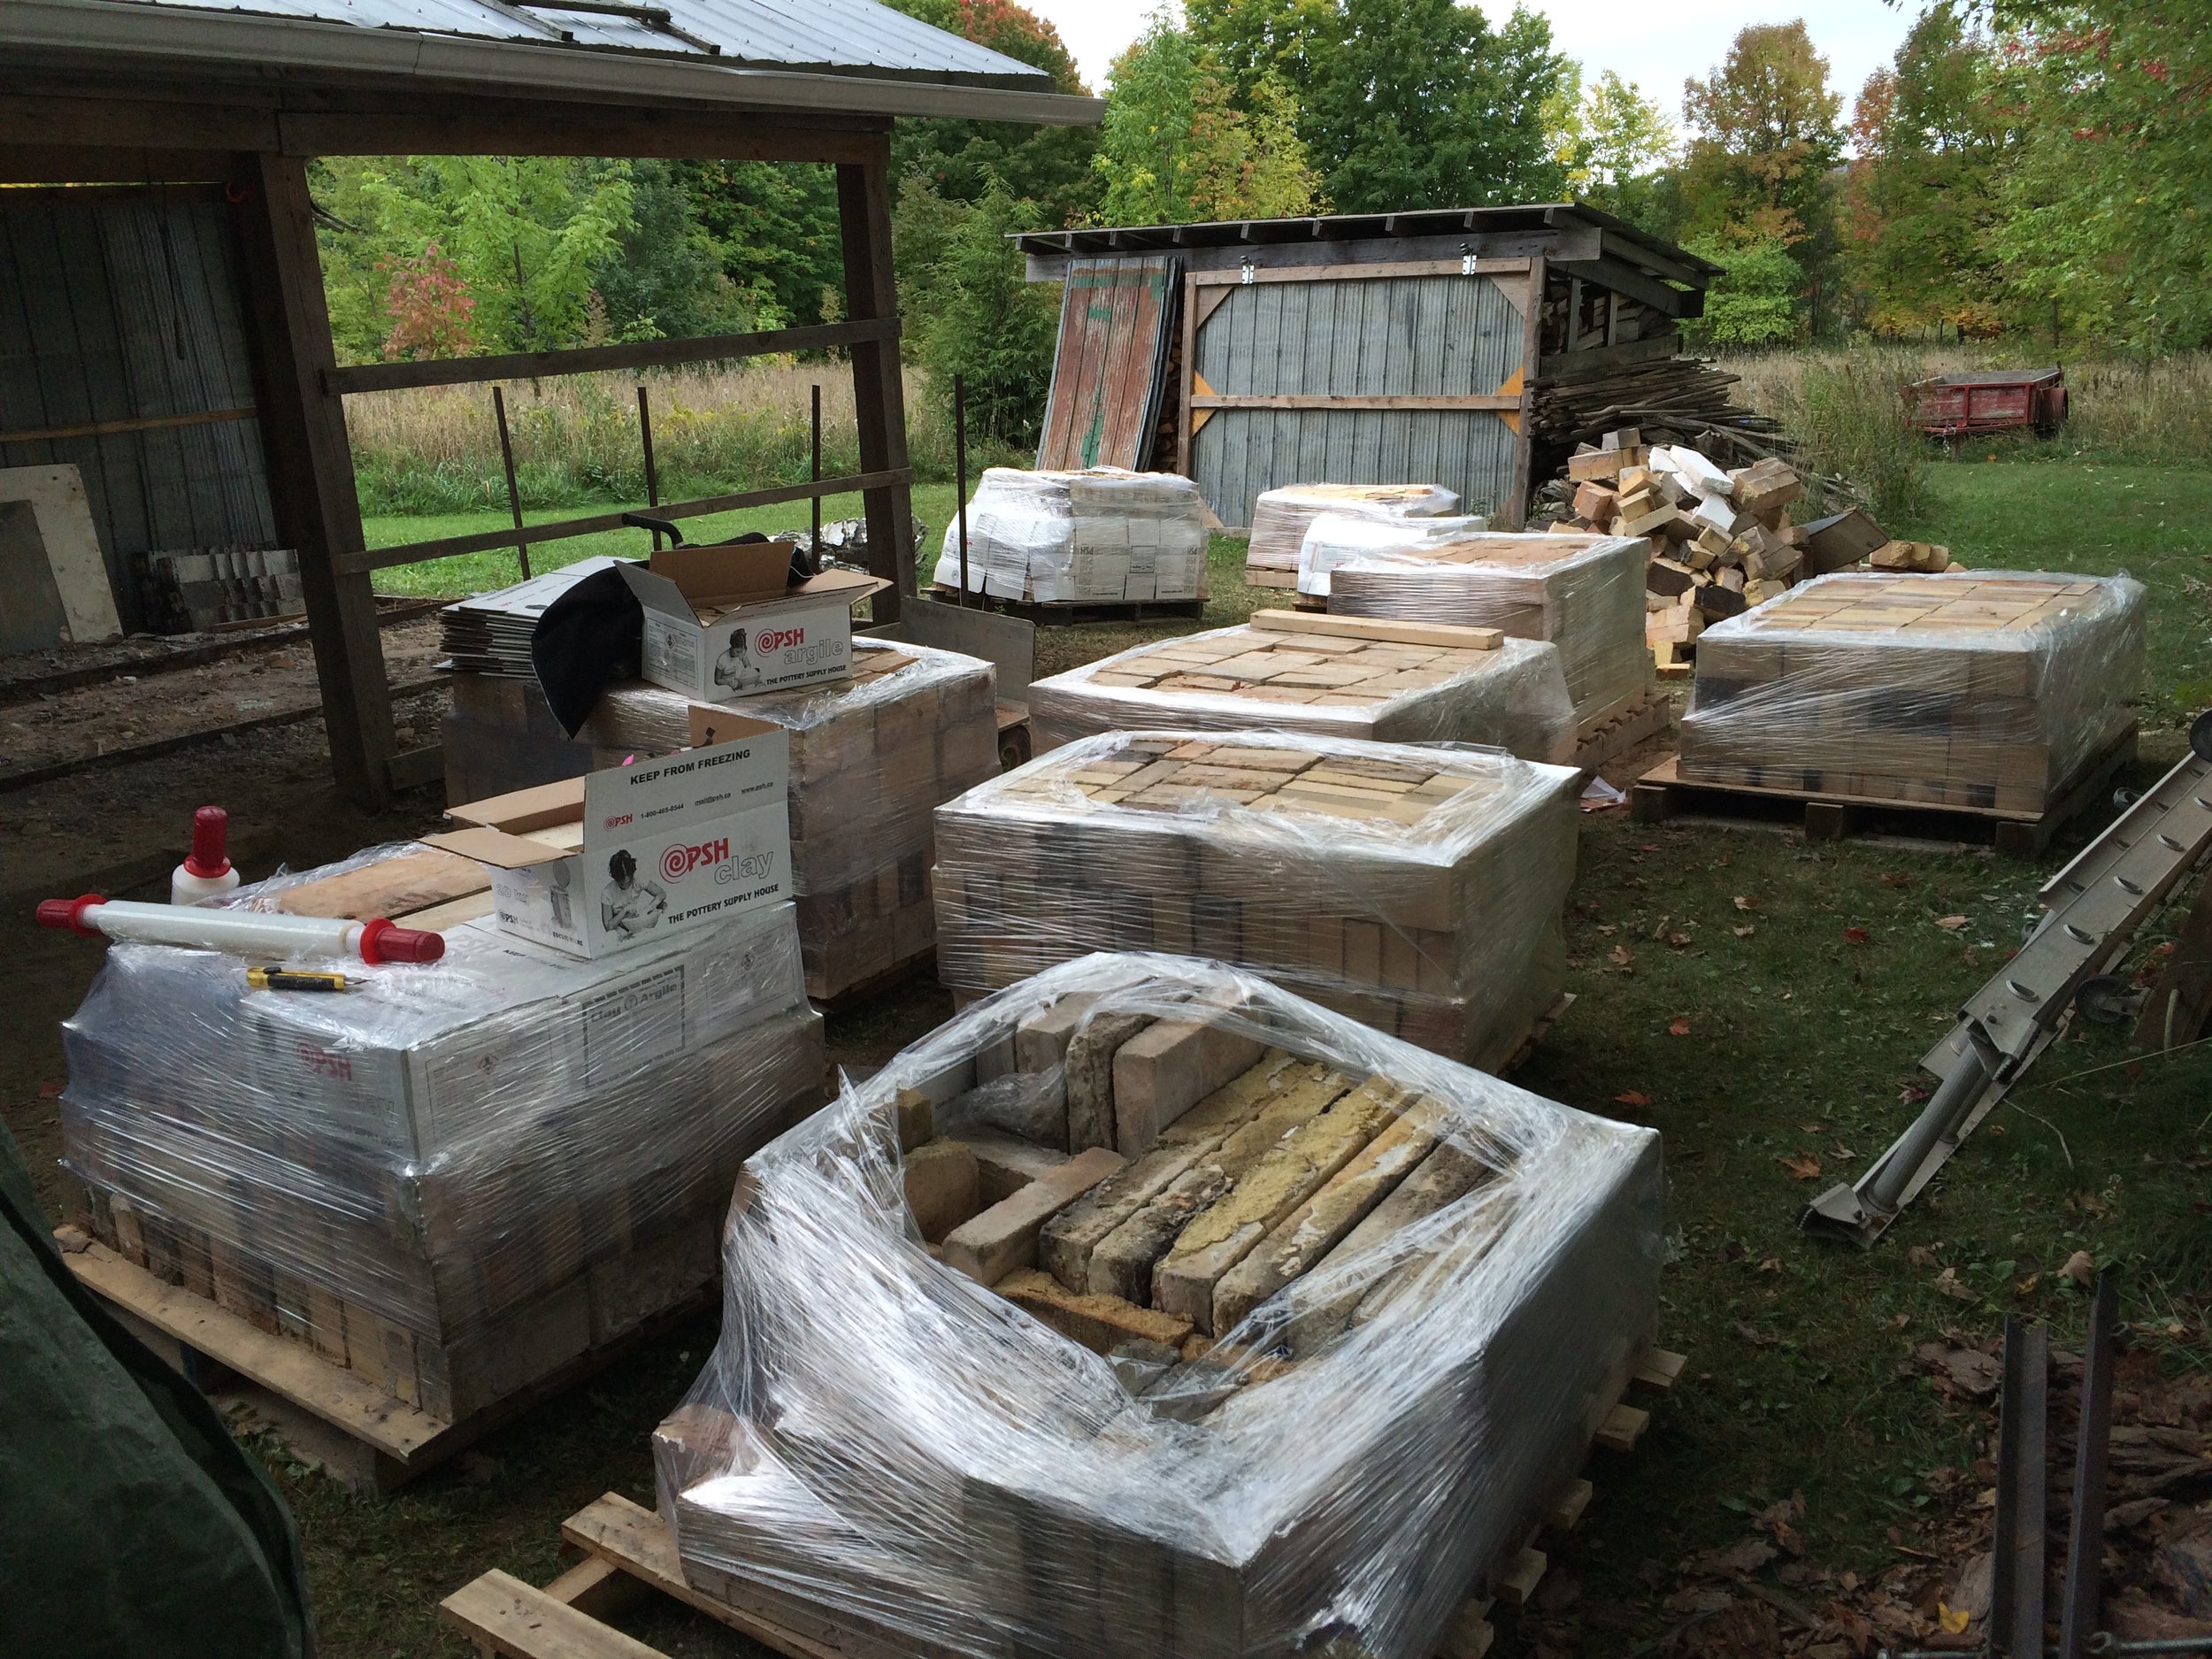
Step 8: Grind and stack bricks on pallets. Stretch wrap and prepare for delivery.
For almost a year now, my good friend (and fellow woodfiring potter) Duncan have been working towards building our very own wood kiln. The last three years of my business have relied on the generosity of other potters - letting me rent space in their kilns, letting me crash on their couches or in a tent in their backyard, feeding me, allowing me to flit and fleet from one firing to the next (often on the same weekend), just so I can get my work made.
My studio practice has gotten to a place where I am making more work than I can possibly fire in other people's kilns. And I'm also at a production level that is a little less flexible when it comes to scheduling. Just like quitting a part-time job or hiring an employee, sometimes you can't grow unless you really start to invest in what it is you are doing.
Being a potter without a kiln, is like being a woodworker without a woodshop. I'm a potter, so I need a kiln.
The first step to building your own woodkiln (aside from finding a location and working out the logistics of land leases and building permits etc. etc.) is to collect your materials.
Lucky for me, my husband (and neighbours) have patiently put up with me storing to-be-kiln-materials in my backyard, pretty much since we bought the place three years ago. I've been collecting insulating bricks and kiln furniture, steel and shelves for years now - and wood... I've stored LOTS and lots of wood. All we needed was some hard brick.
This past weekend Duncan and I, with the help of my partner Jesse and Duncan's brother Mike, tore down an existing woodkiln up north, and prepared the bricks to be delivered down to Hamilton. Our motto for this kiln: Reduce, Reuse, Recycle. We're using pretty much exclusively reused materials, repurposing old kiln shelves for our floor, and trying to reduce the amount of waste by using everything we possibly can! It was a lot of work, but we now have 10 skids of high temperature brick, all the steel we could need, and of course, we learned a TON in the process.
A big thank you to everyone who has helped us with this project so far!!
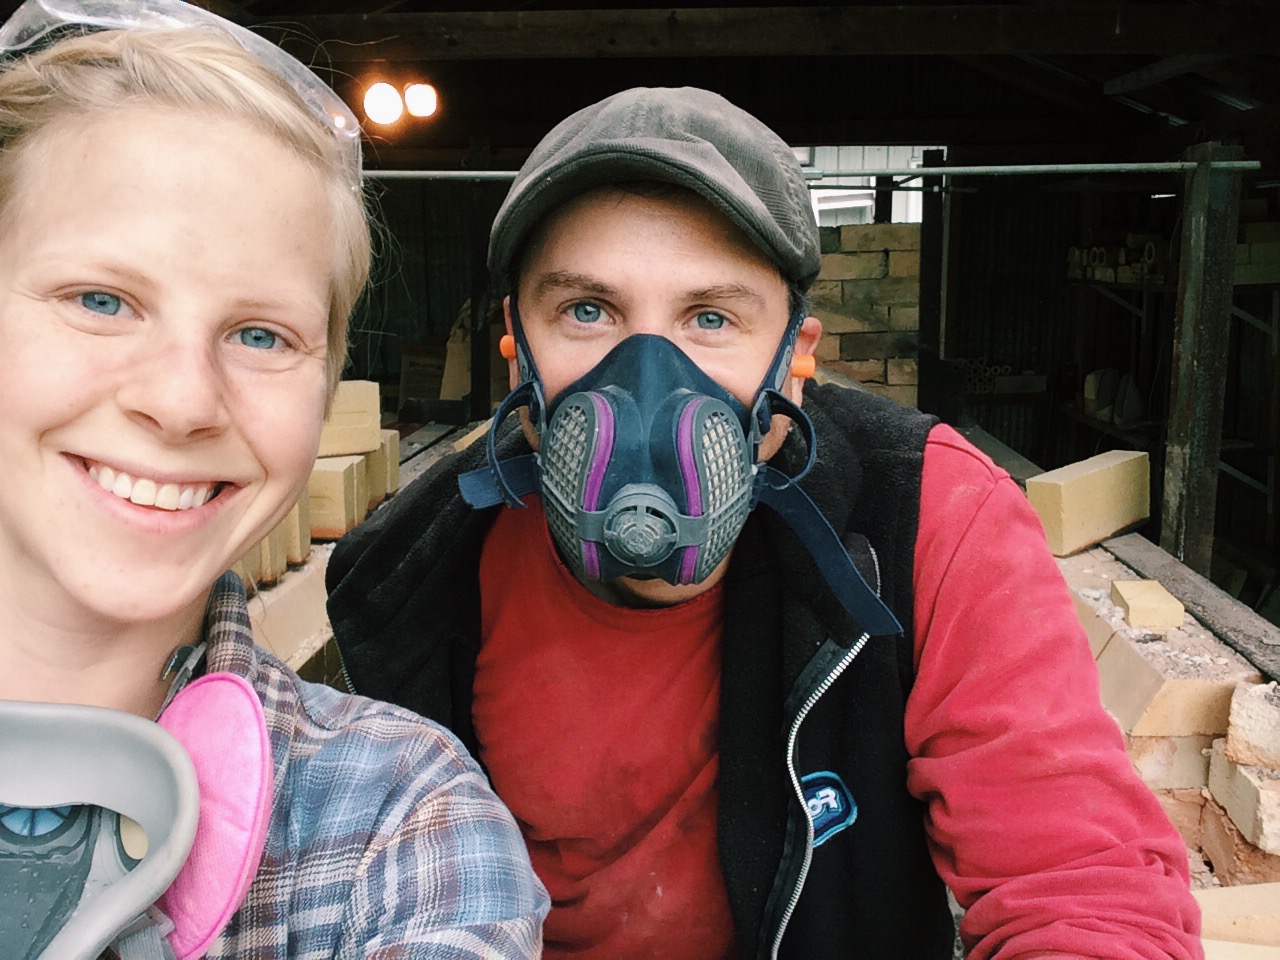
Step 9: Eat lots of girl guide cookies, listen to sweet tunes, and get a good night's rest after. Happy potters are we.
Step 2: Remove bag wall. This checkerboard wall was fused together, and needed to be smashed out with a sledgehammer.
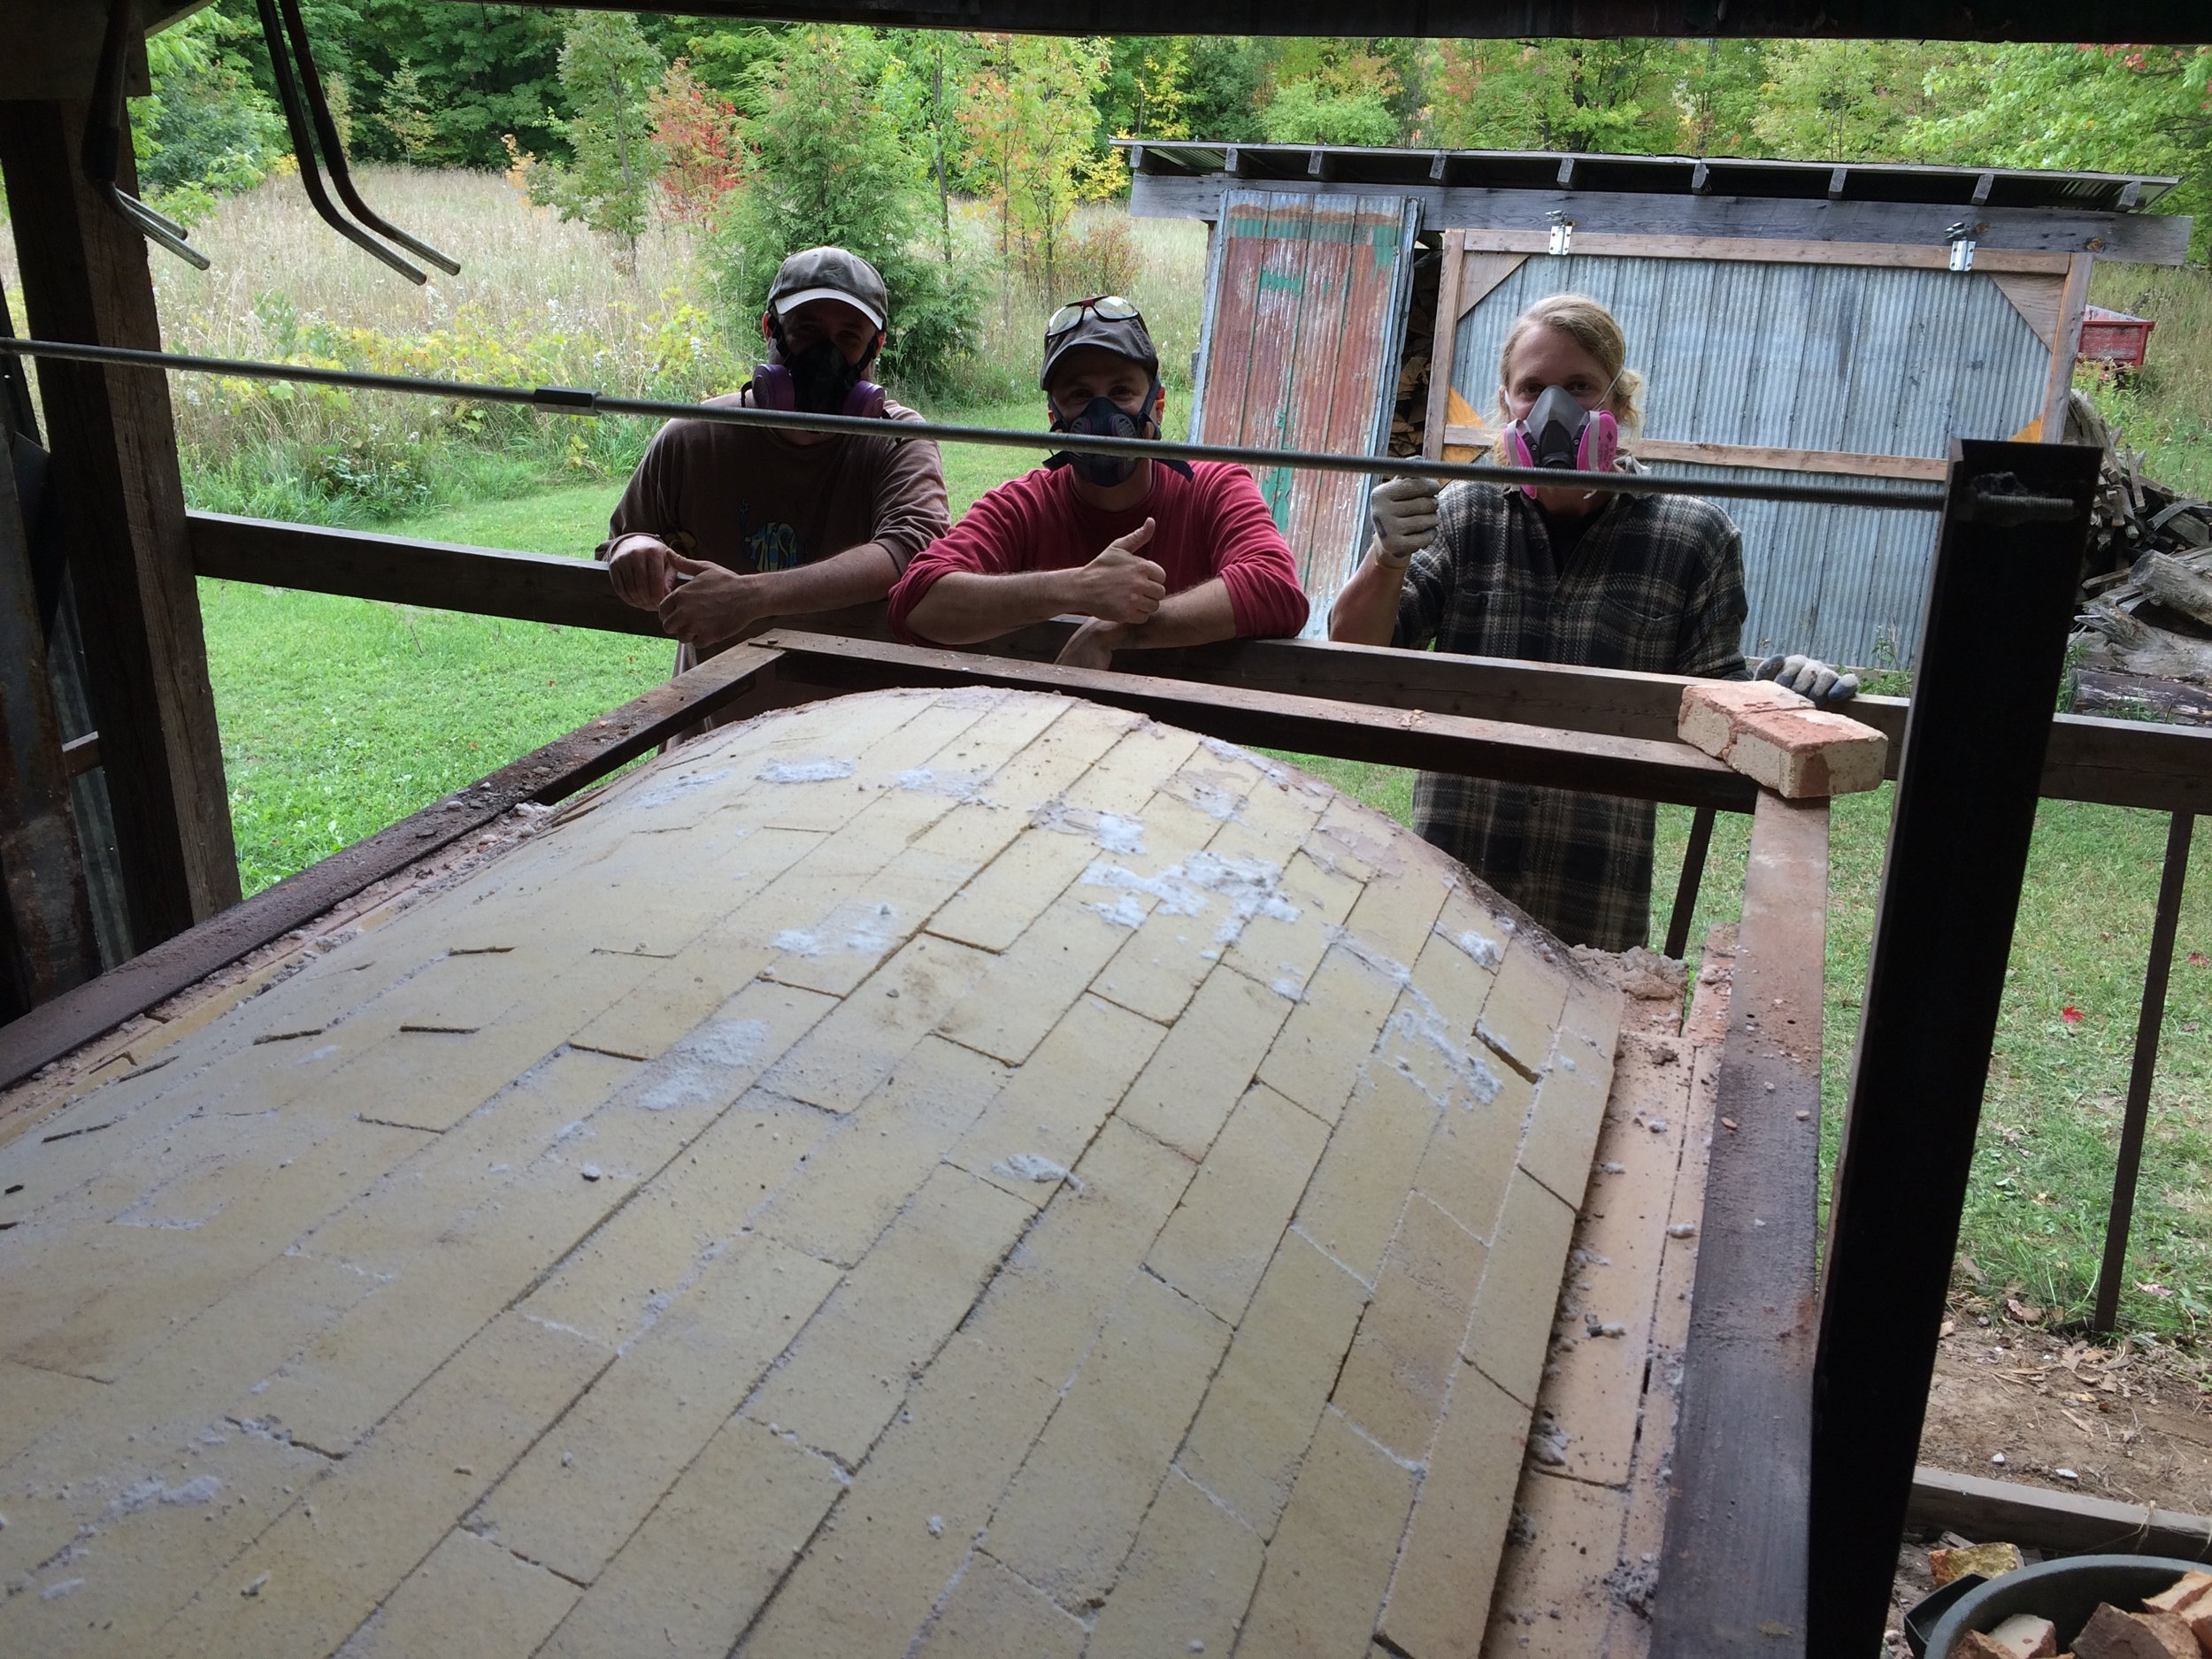
The guys.. demonstrating safe kiln removal wear (ie. respirators)
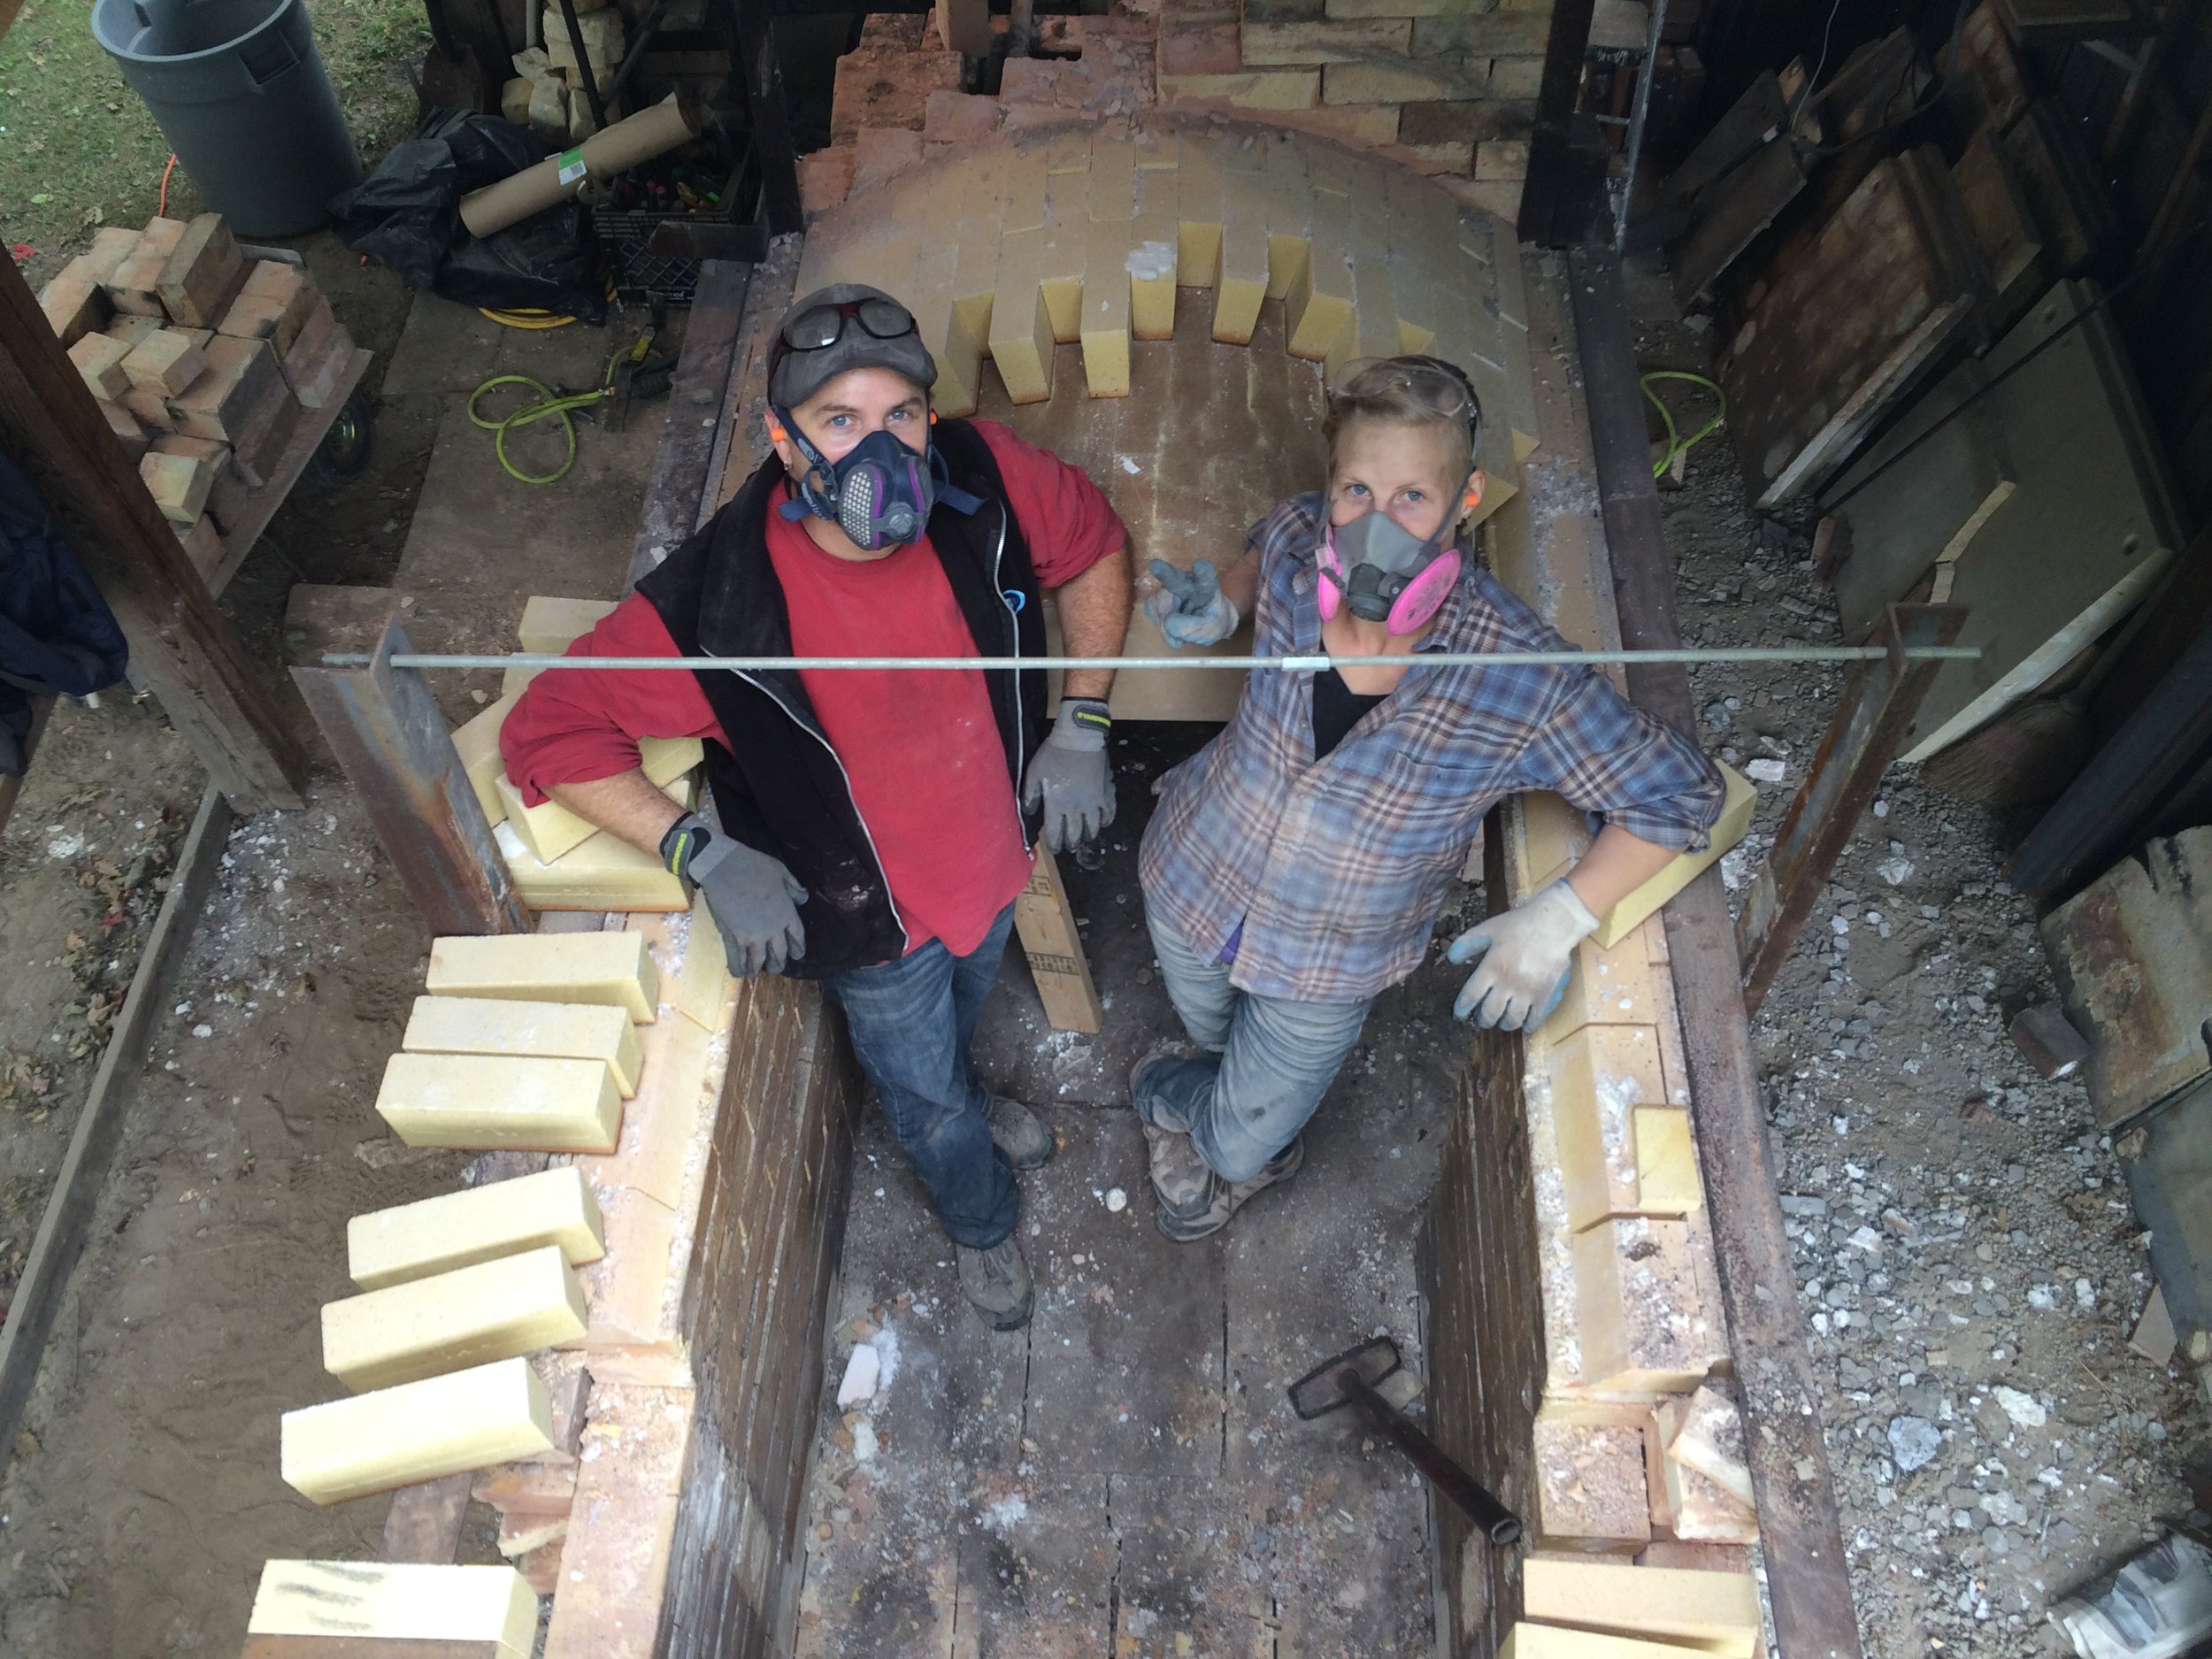
We make a good team! Arch is almost down!

Step 6: Remove the last arch over the doorway, with wooden form and 2x4s for jacks. Also, appropriate footwear.
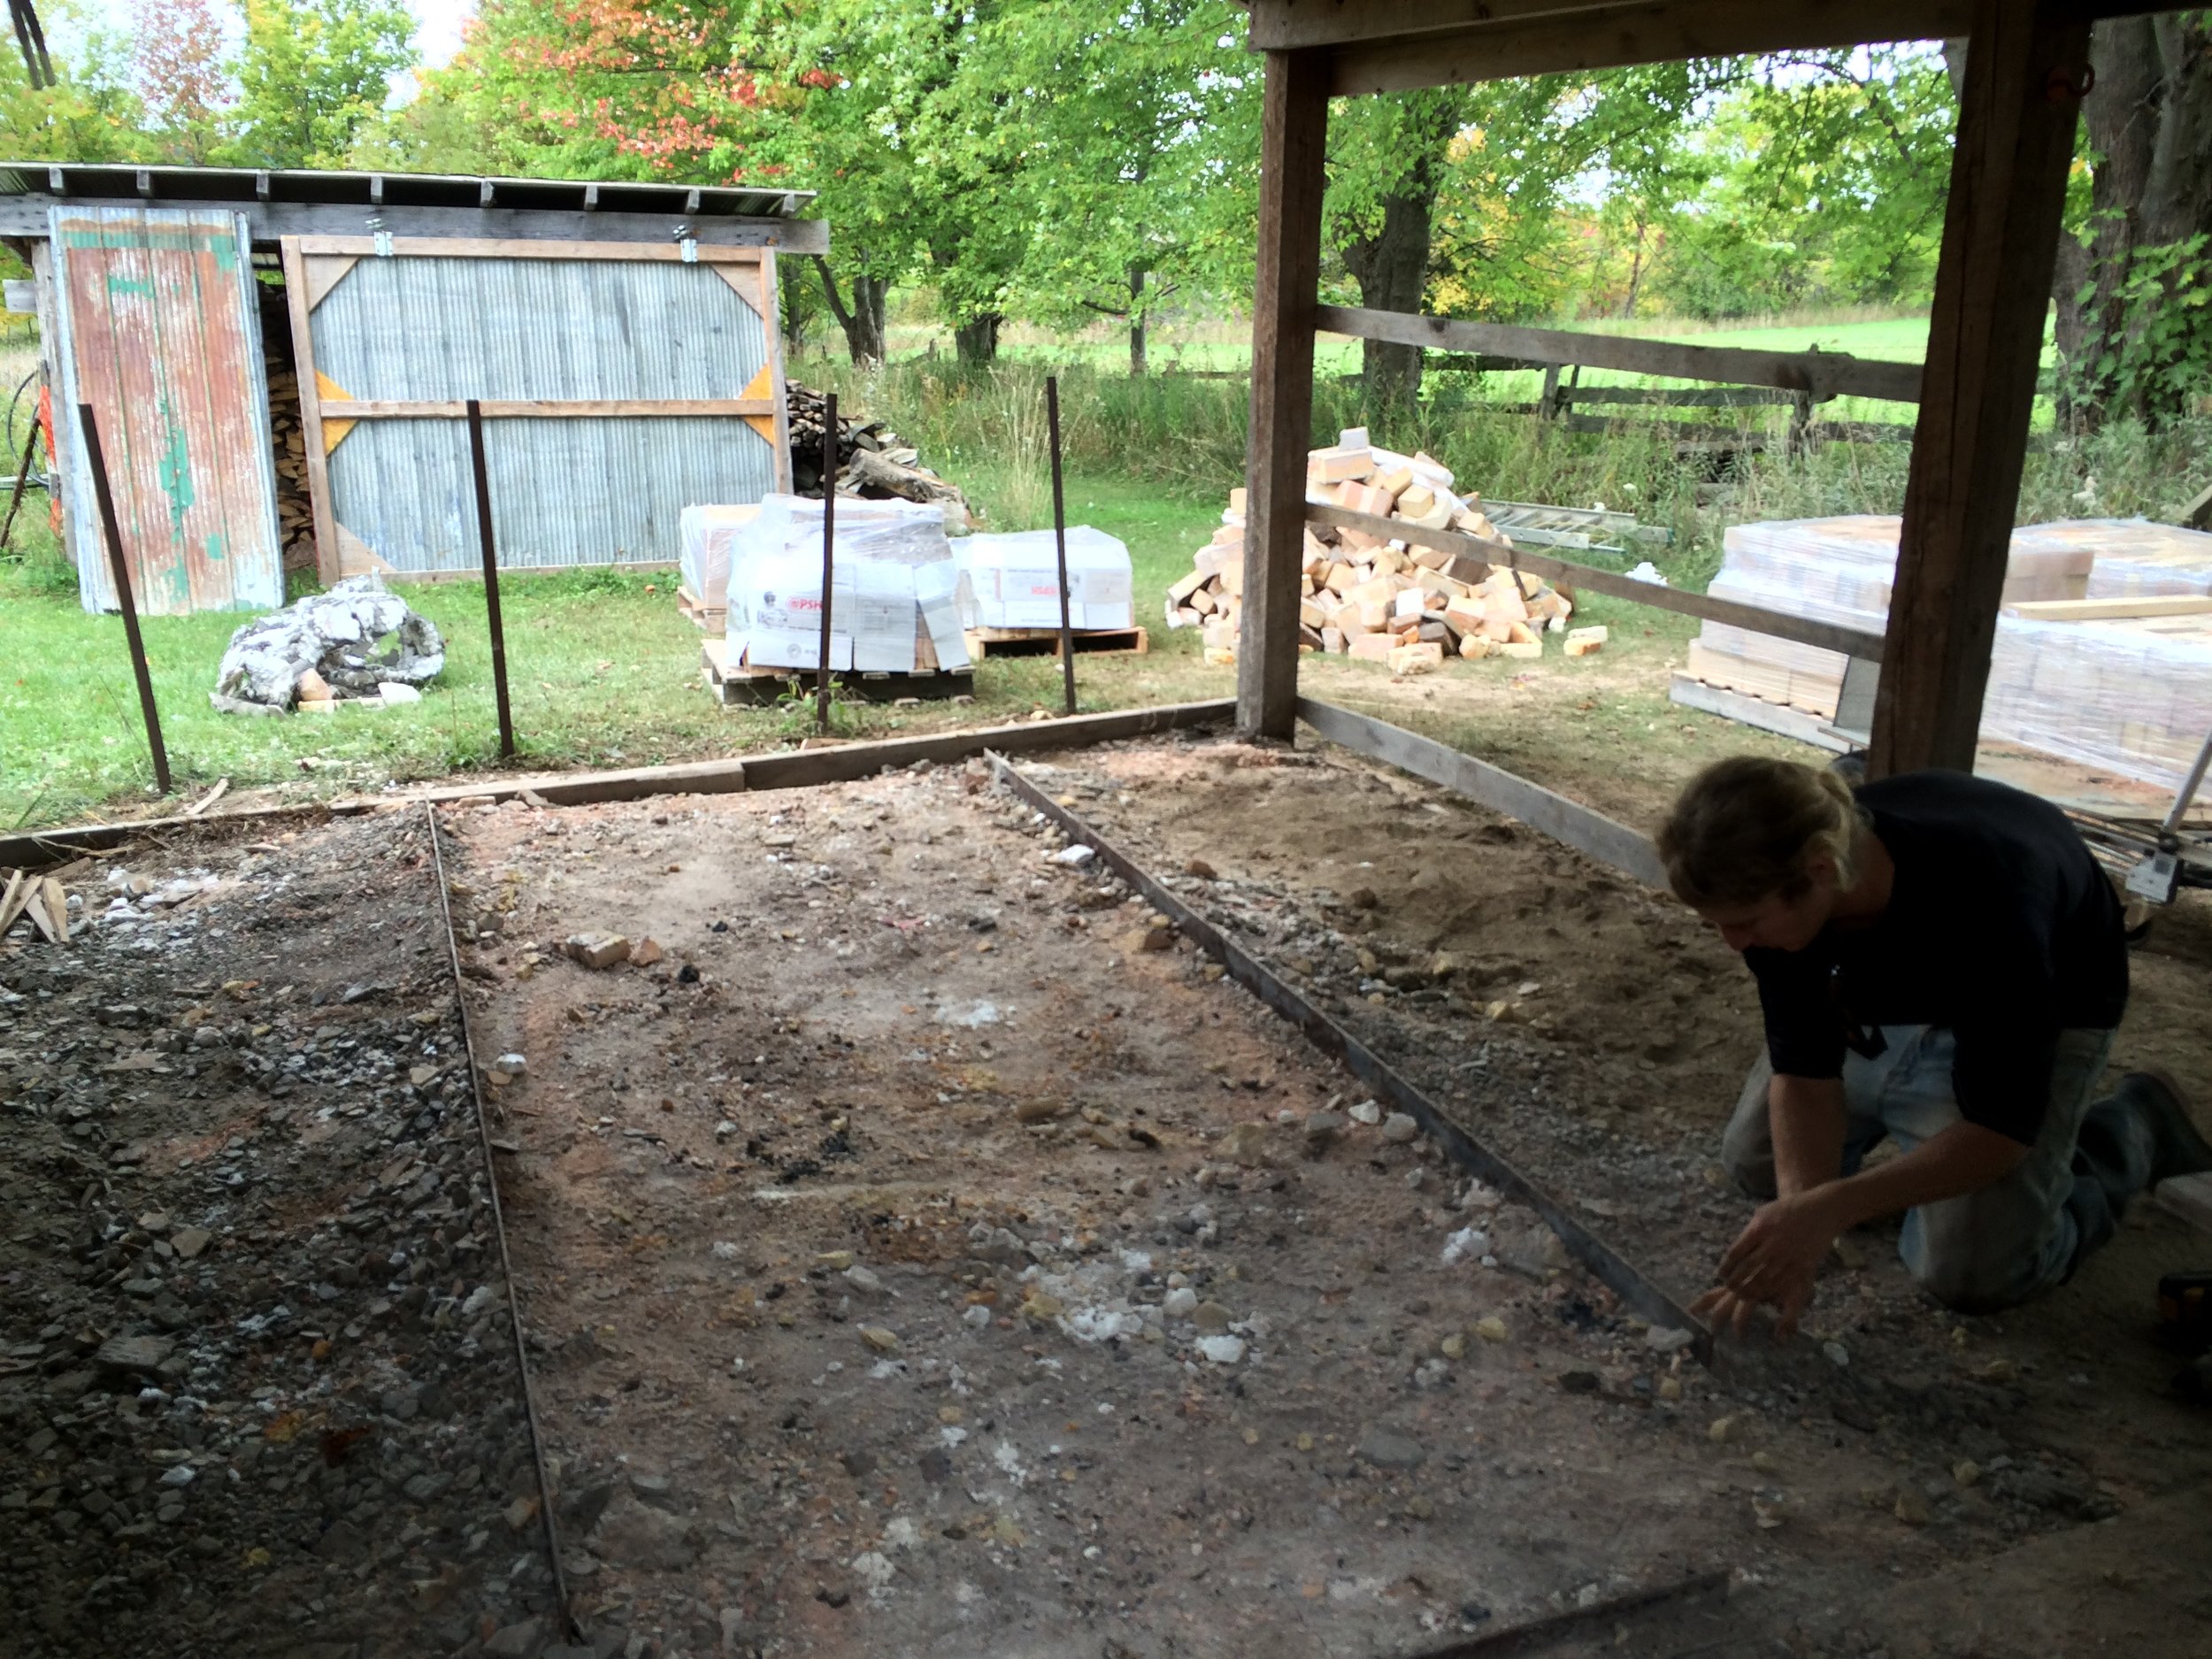
Step 7: Pull up the floor, and unbolt the steel frame from the ground. Note the pile of rubble in the background - a much smaller pile than we anticipated!